Setting up Supabase
Setting up Supabase is super simple! It consists of just 4 steps:
Connect to Supabase
Your entry point to connecting your product with supabase, is the button in the top right of your screen, with the green Supabase logo on it. When your project is not connected to Supabase, you will see this when you click the button.
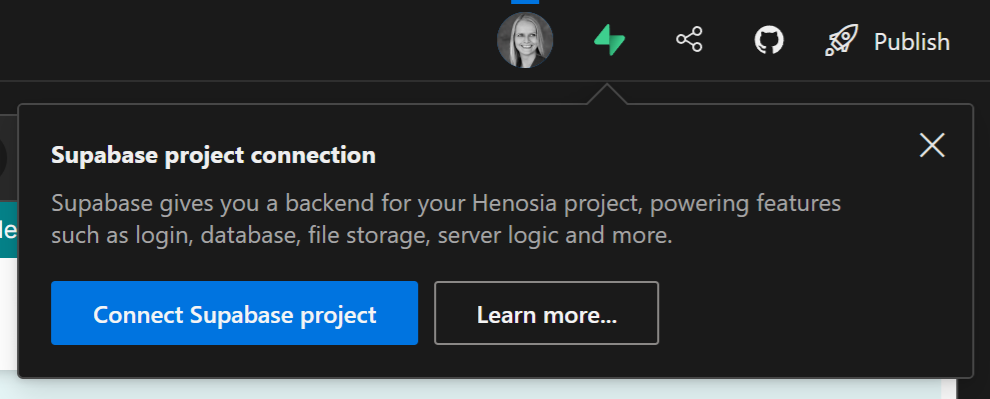
If you're not yet a Supabase user, you need to register and login. Simply follow Supabase's flow for signing up and logging in and then return to Henosia afterwards. Now click the Supabase button again and click Connect Supabase project.
Authorize Supabase
This brings up the following Supabase Authorization request in a separate window:
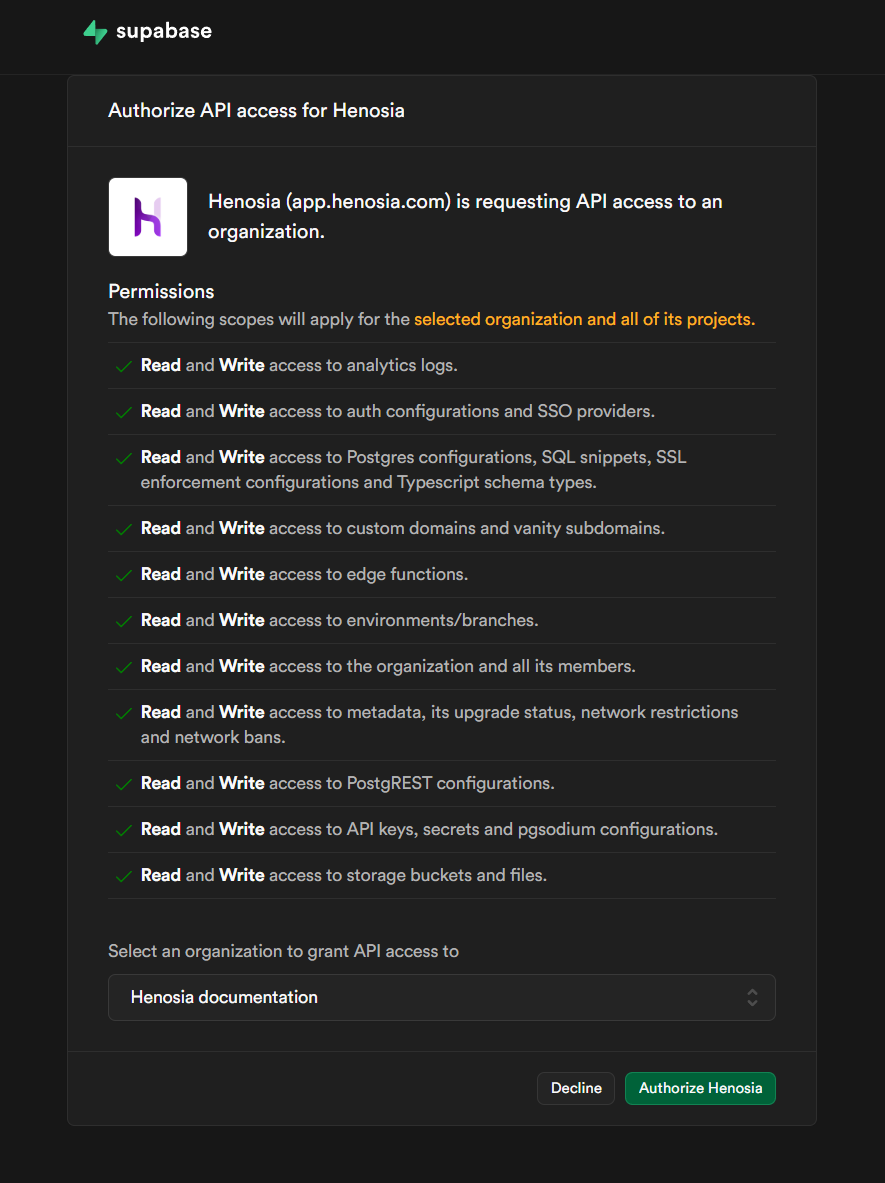
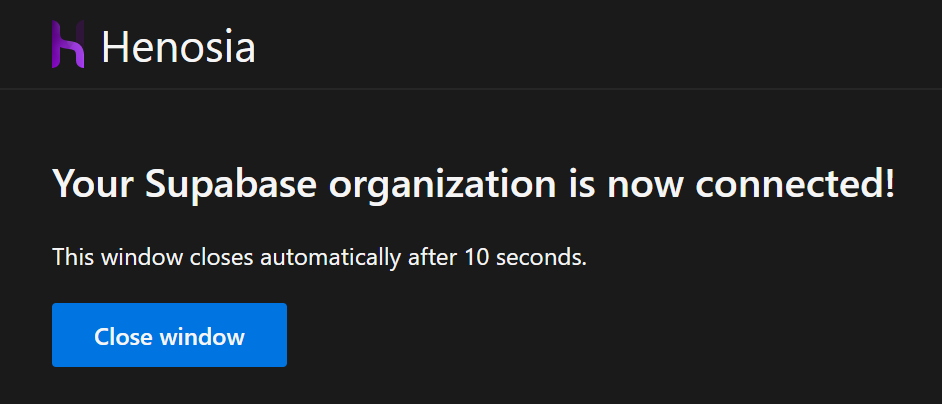
It basically grants Henosia the necessary Supabase access to create authentication and a database for your project. Once you have authorized Henosia the necessary access you will get the following confirmation message:
Afterwards you are returned to Henosia. Now Supabase is authorized and we can connect our Henosia project with the corresponding Supabase project.
Connect to Supabase project
Click the Supabase button again. This time it will show you something like this:
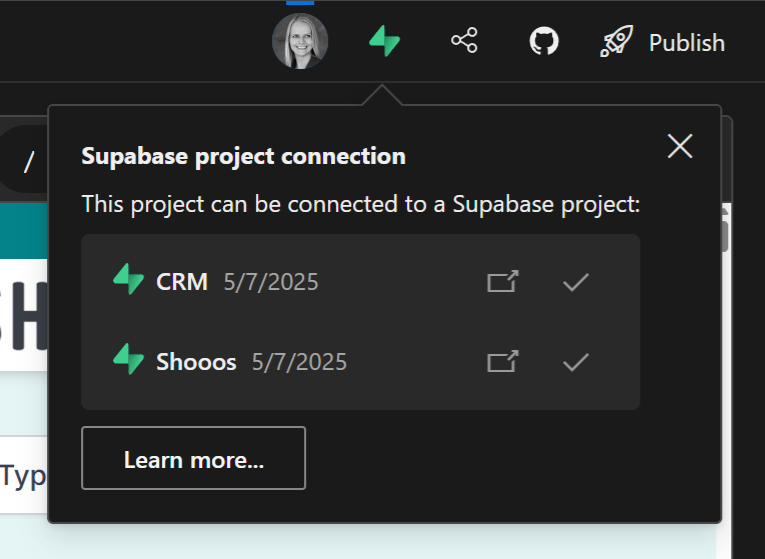
Obviously the projects shown in your callout will be different from ours, so you should pick the Supabase project you want as the backend of your Henosia project.
Note:
Add functionality
Once you have selected a project, the call out will look like this and you're now ready to add the functionality you need to your project.
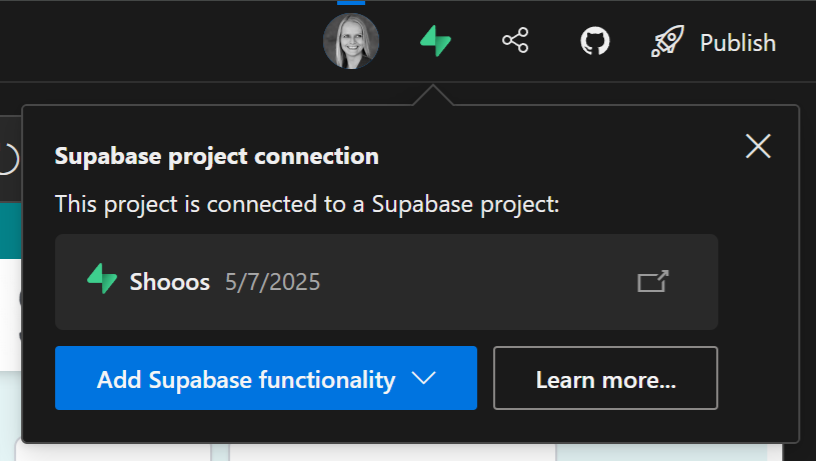
You have two choices for adding functionality: Password based login + database, or just database.
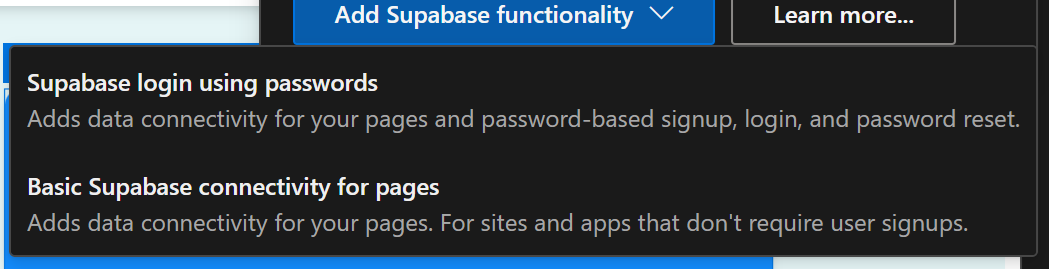
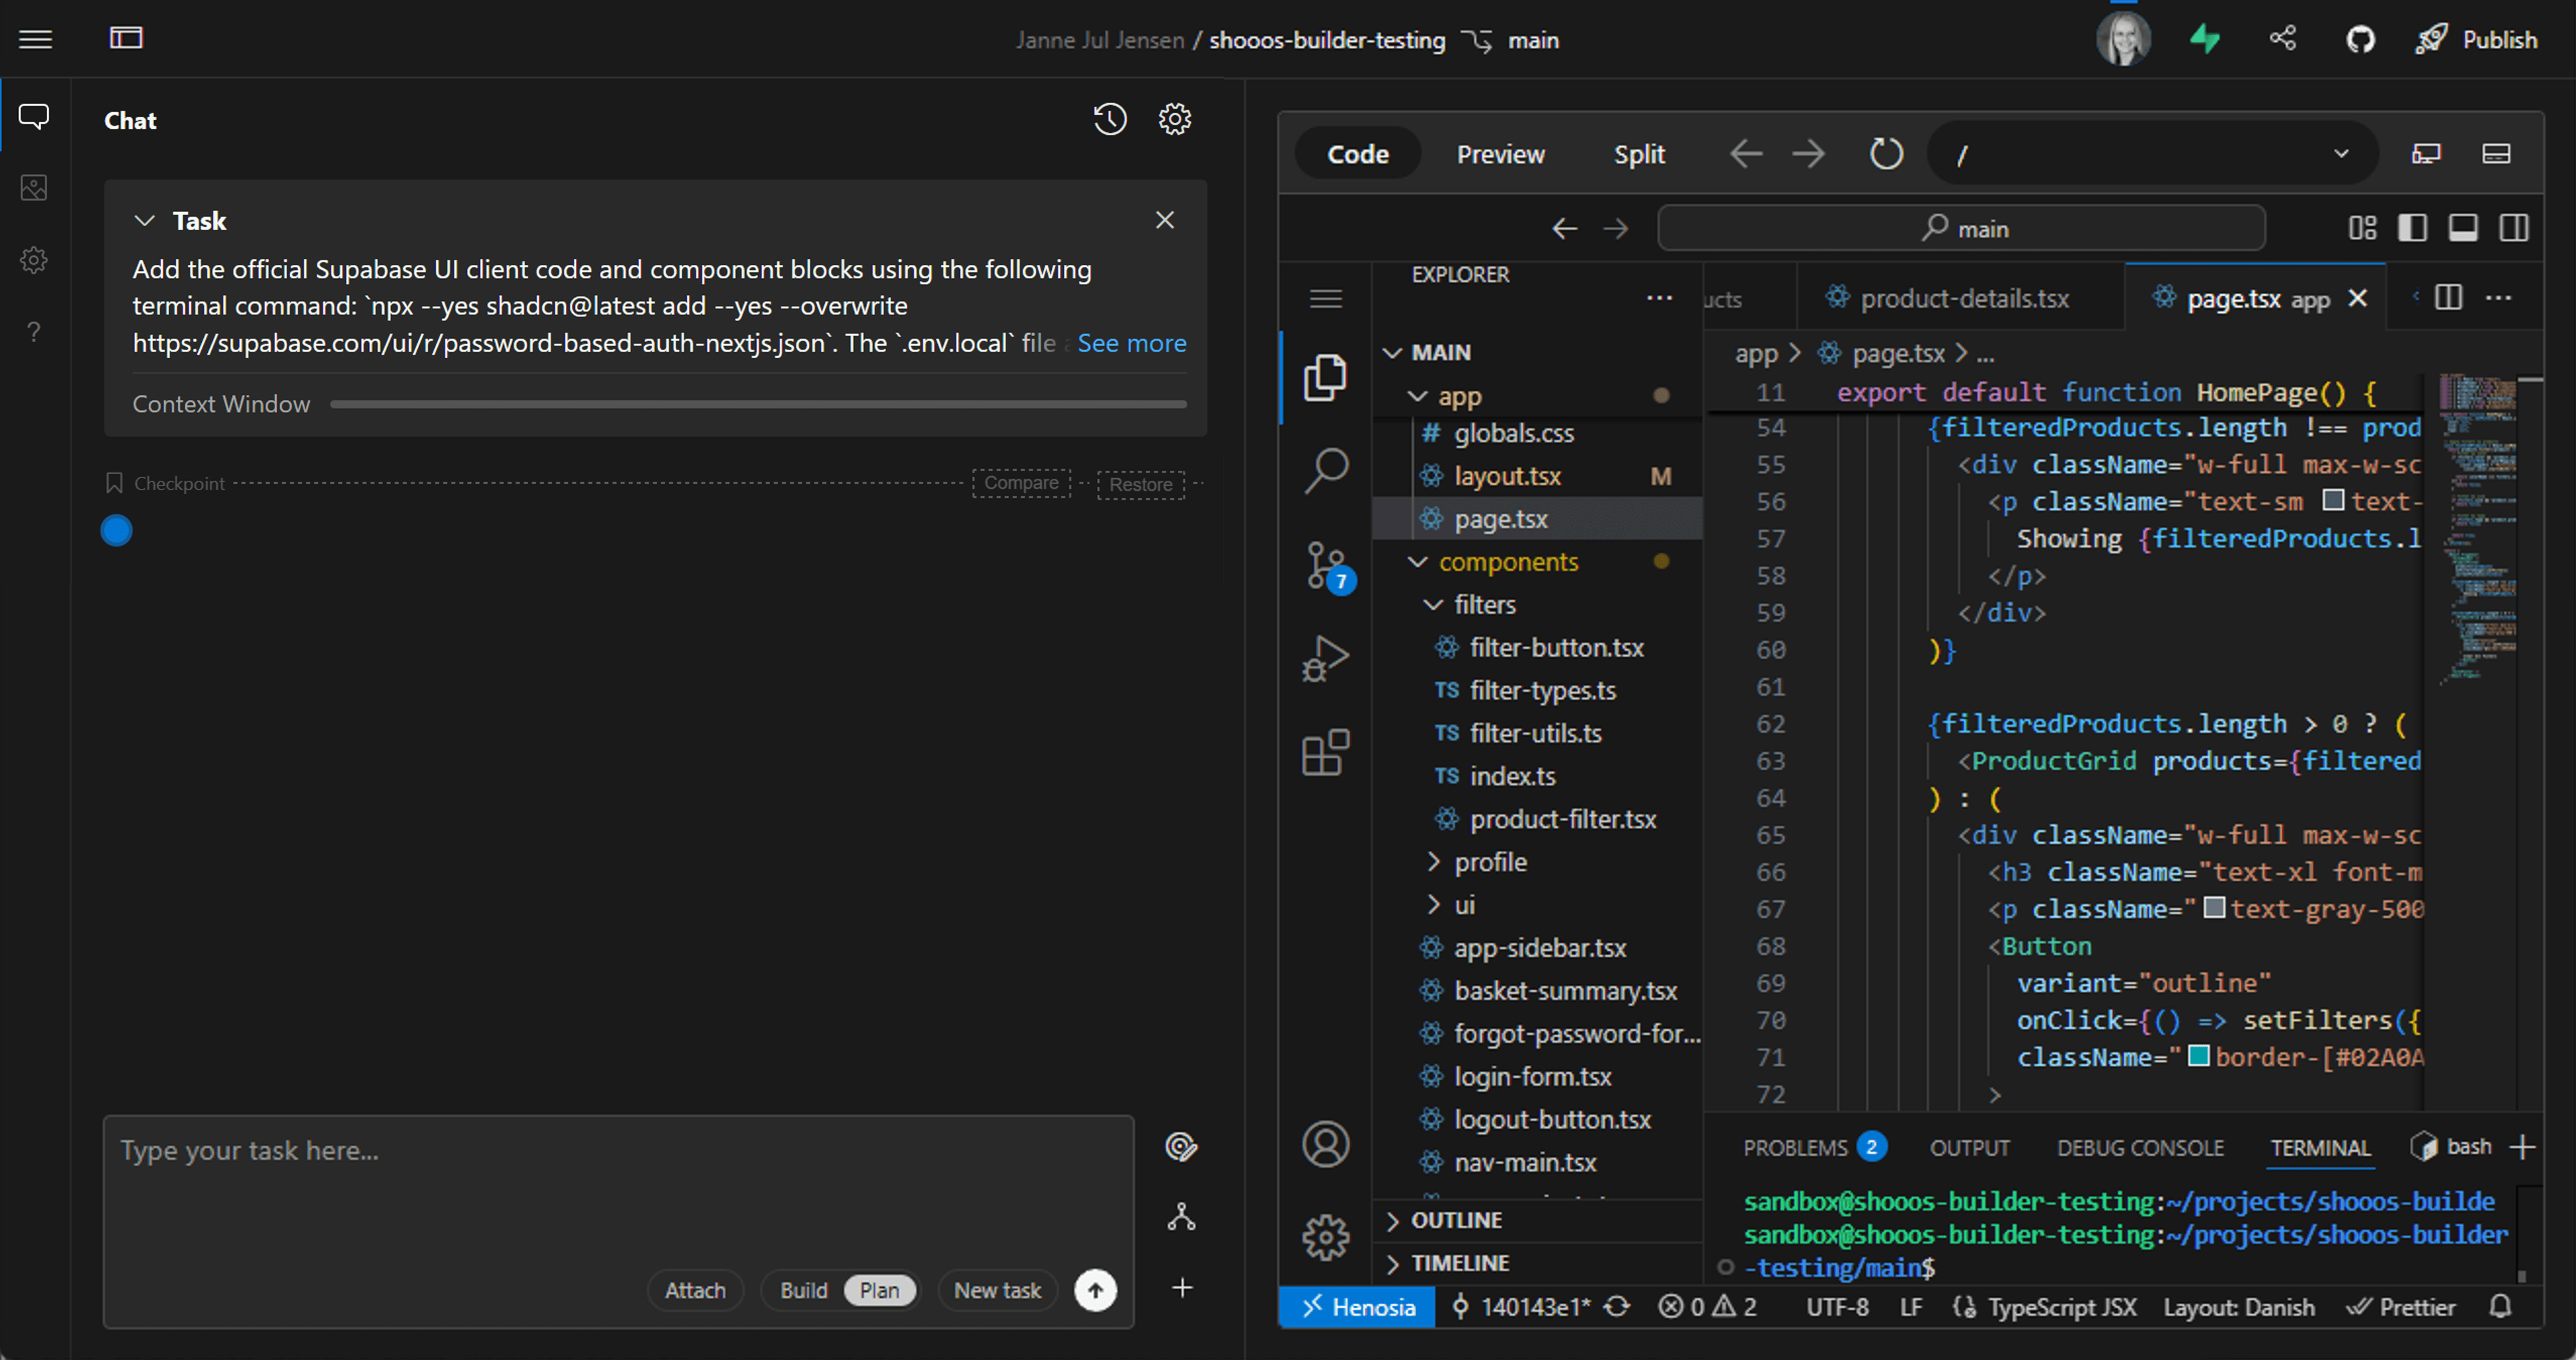
For the purpose of this guide, we choose the first option of password based login + database. Once you click that, it starts a task in Henosia, and you can see Henosia implementing your choice in your project:
Once Henosia is done implementing, your Henosia project now looks something like this:
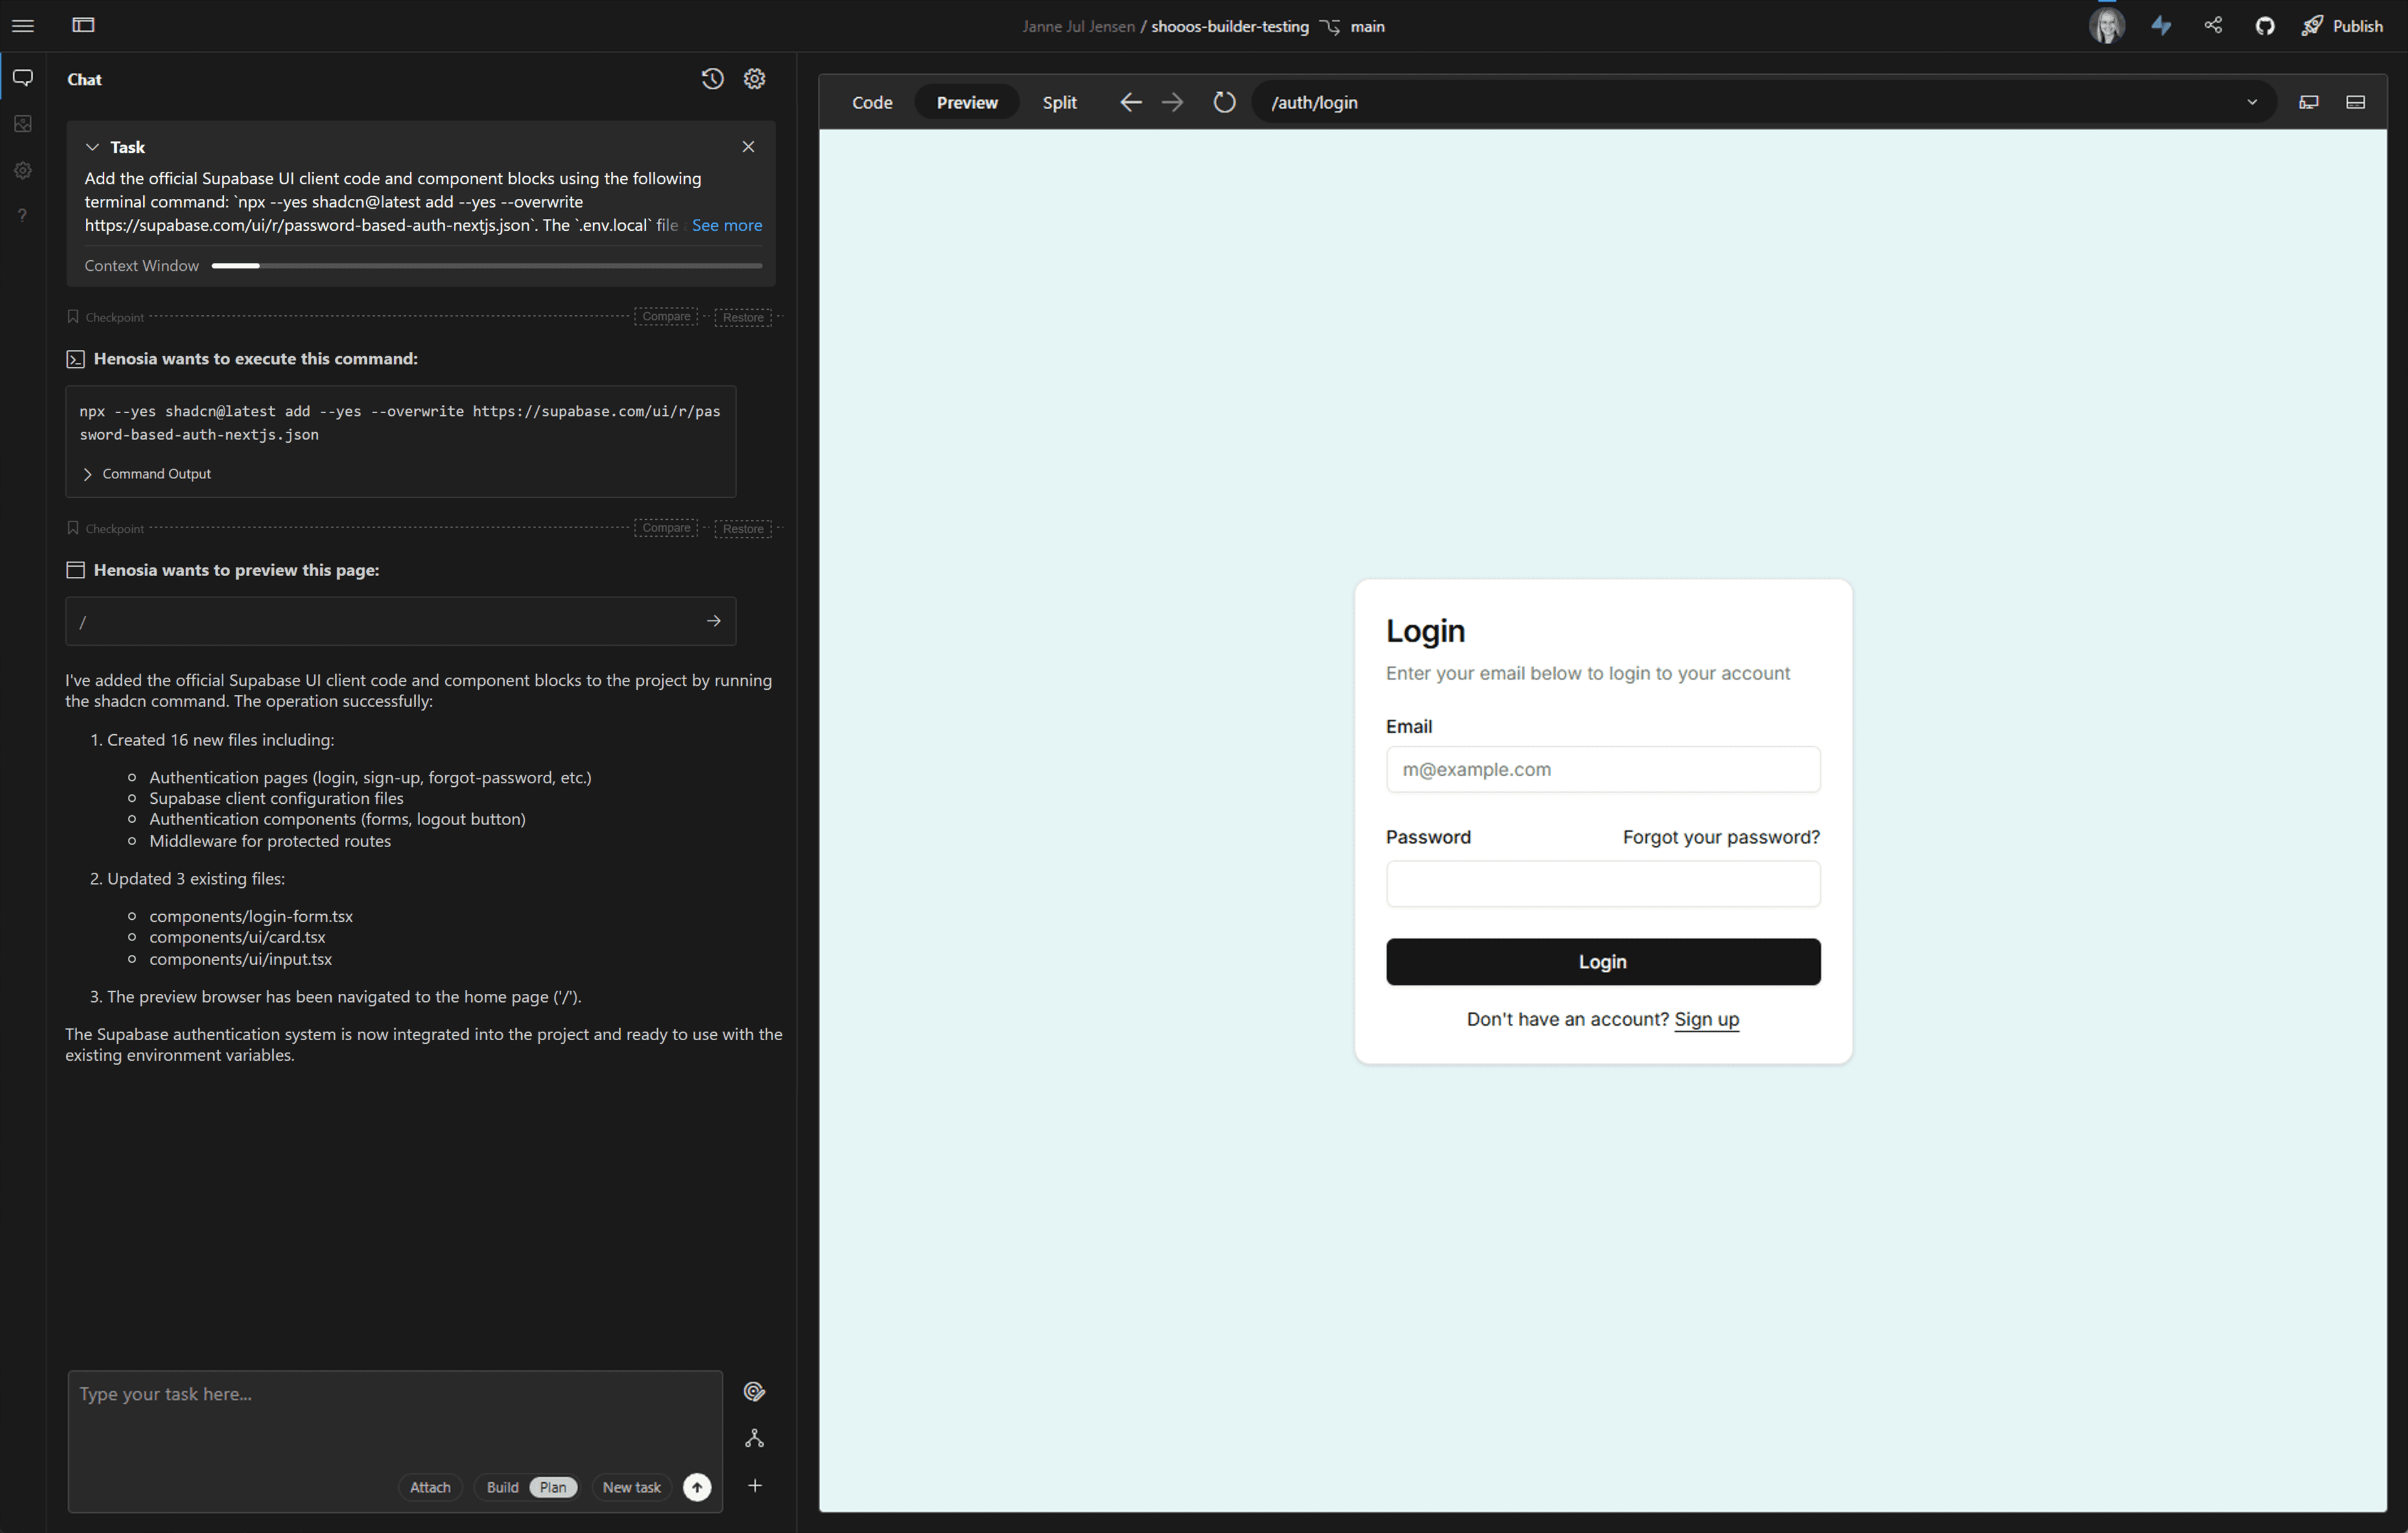
Good job! Now you have a backend set up for your project, and together with Henosia you are ready to setup the authentication and database exactly the way you want it to work for your project.
Go to Authentication and Database to get help doing this.