Tree
Sometimes it is useful to see the structure of what you’ve built. This is possible in the tree, where you can see which elements are nested within each other, etc. This helps when ensuring that you’re deleting or moving the right element or inserting a new element in the right place.
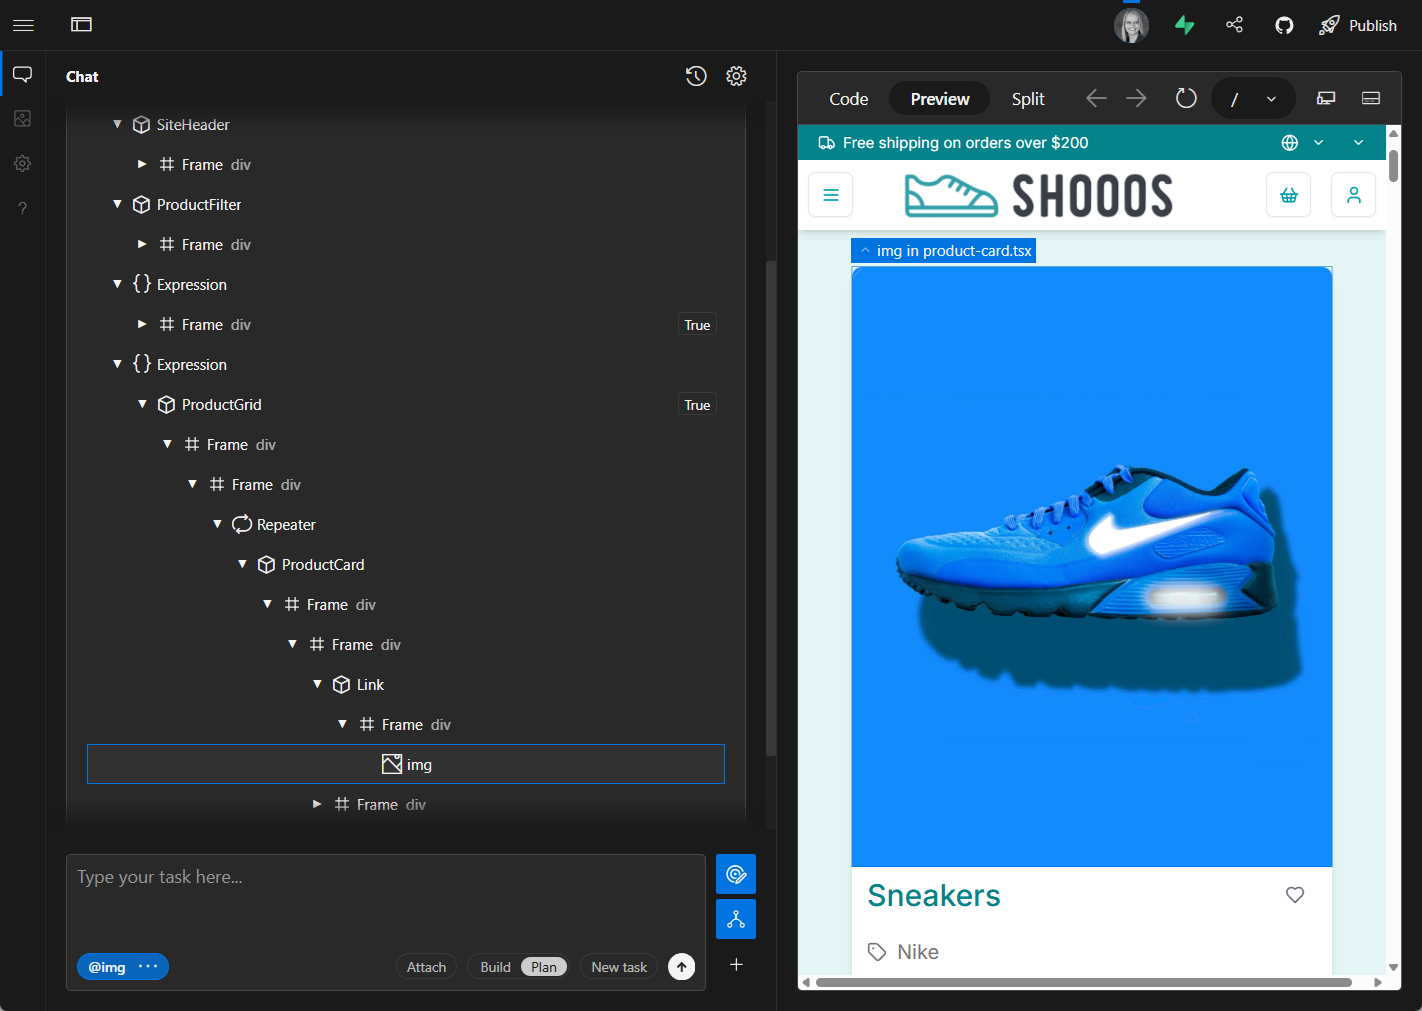
You open and close your tree on the tree button to the right of your prompt field.
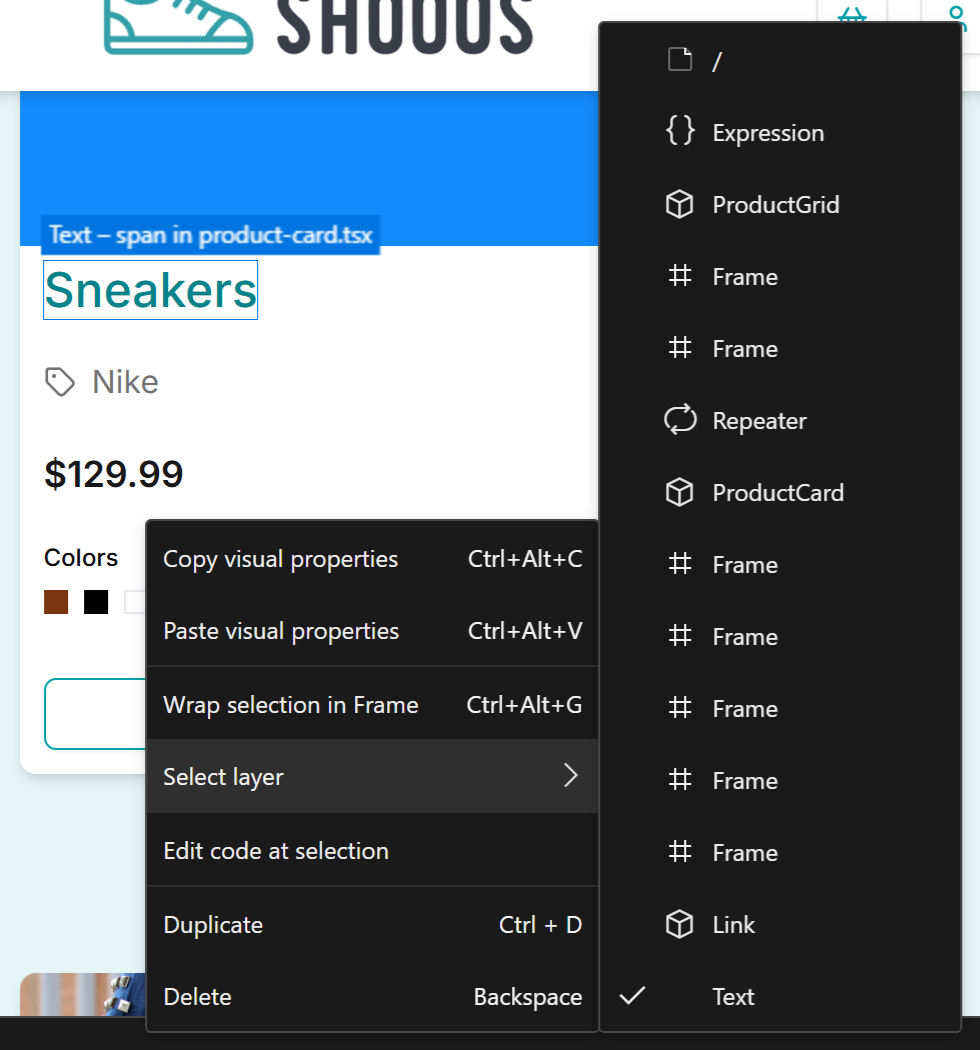
You can also access part of the tree in two other places: The right click menu or via the label on any selected element.
If you select an element in the product and right click, then in the menu under “Select layer” you can see your selected element and every parent above it in the tree, right up to the root of the tree.
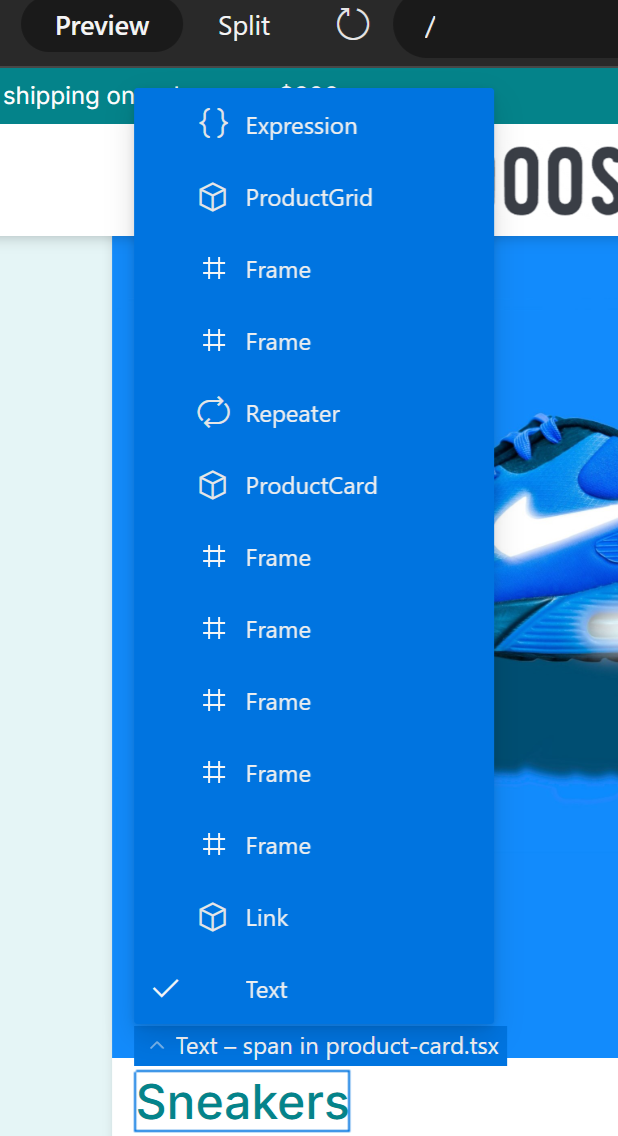
Similarly, the blue label above a selected element can fold out to show you the tree above that element.