Publish
You can easily publish your Henosia project to the internet using Henosia's Netlify integration.
Before publishing a project
Consider that everyone who has the link to your published project will be able to access it. Security must be enforced by the project itself, e.g. using Supabase login to restrict access to certain pages and features.
Publishing your project
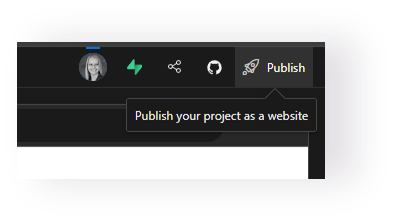
Step 1 is to click the "Publish" button in the top right of Henosia to get started:
In step 2, you pick the URL under which your project will be published:
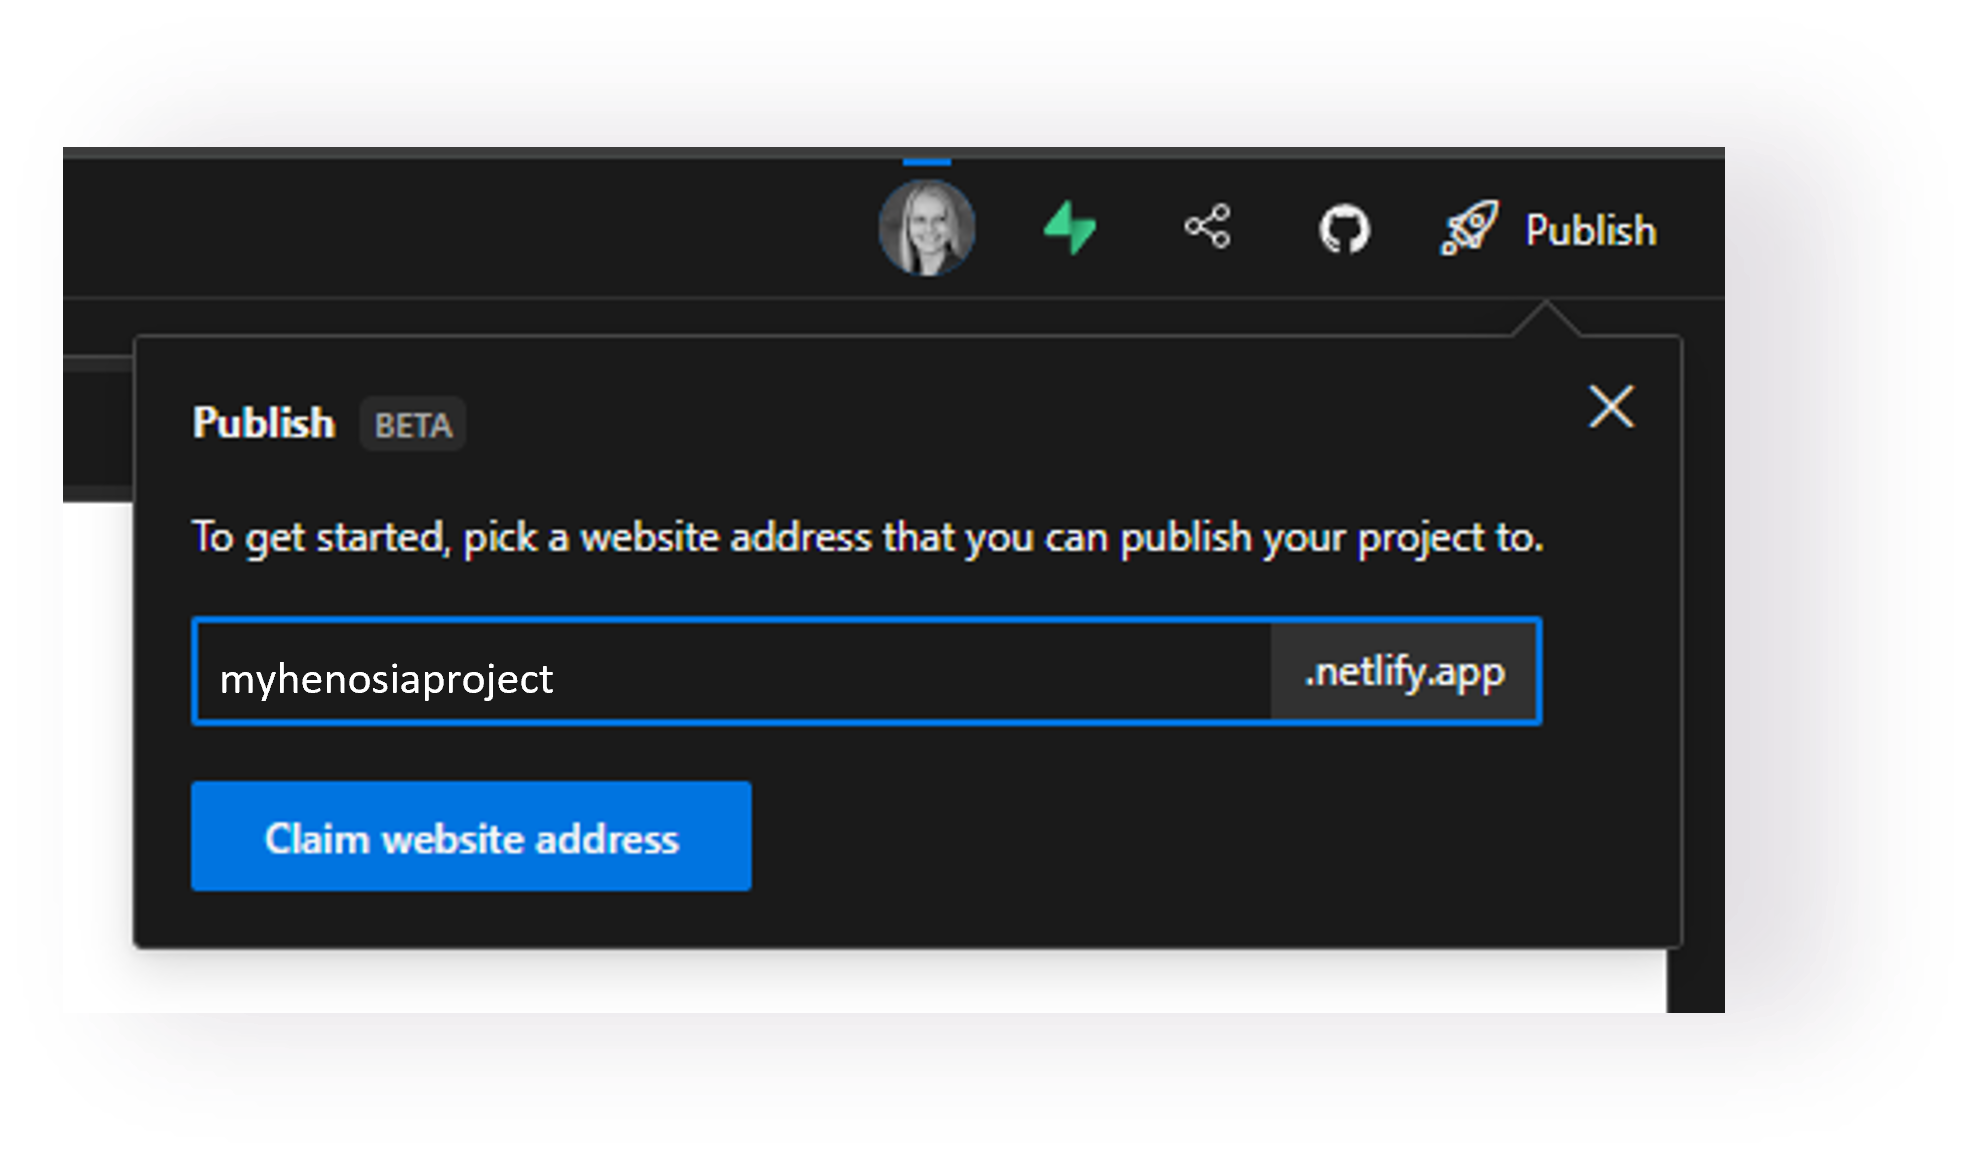
It will be in the format project name.netlify.app. If the URL you want is already taken, you will be asked to pick a different one.
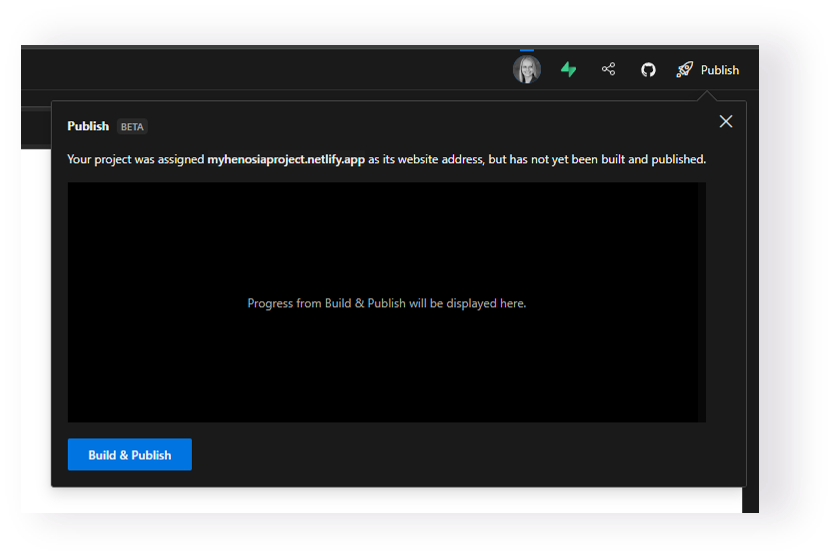
In step 3 you press the button "Build & Publish" to start the building process and to publish the site once the building process is completed:
In the window you can now follow along as Henosia is building your website for you. Once Henosia is done building and has published your site, you get to the final step in which you can now view your published project:
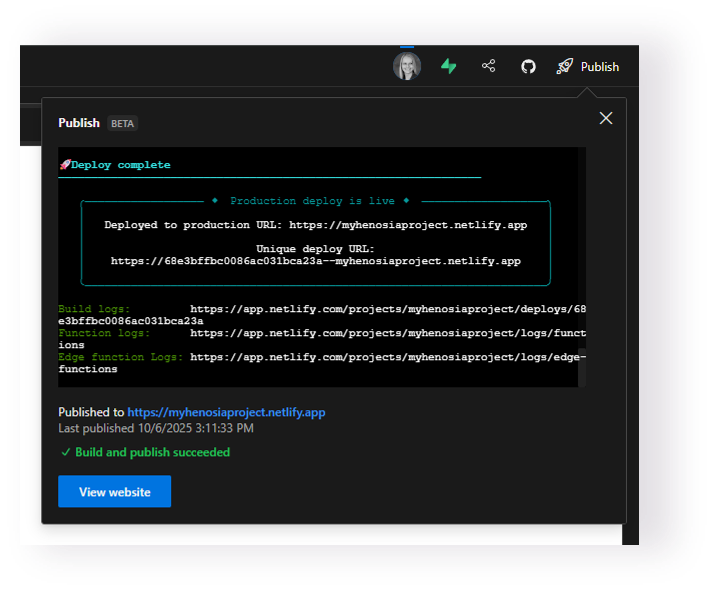
Go ahead and check out your final work!
Custom Domains
Publishing your project under Netlifys domain is free and doesn't require a Netlify account. In the future, we'll add the option for you to claim the project on Netlify using your own Netlify account. Using your own Netlify account enables custom domains and all other Netlify features such as analytics.